The making of a Modern Fossil; jesmonite poured into brass shim moulds
I did some experiments creating the shapes that would be attached at each junction of the metal framework of my work for the 7 Bridges public Art project, ‘Modern Fossil‘. By pouring jesmonite into test moulds, I could see:
- would my moulds – lengths of very thin sheet metal slotted into slits cut into foamboard – actually work?
- How securely anything embedded into the jesmonite would be
- How thick did I need to make the shapes so as not to break; it was to be mounted outdoors on a railway bridge, so needed to be durable
- What would the result be like with an acid etch on the surface on the cast shapes?
-
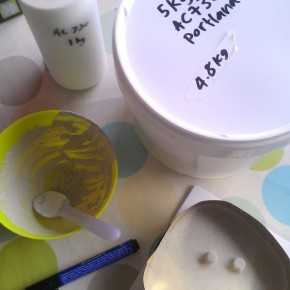
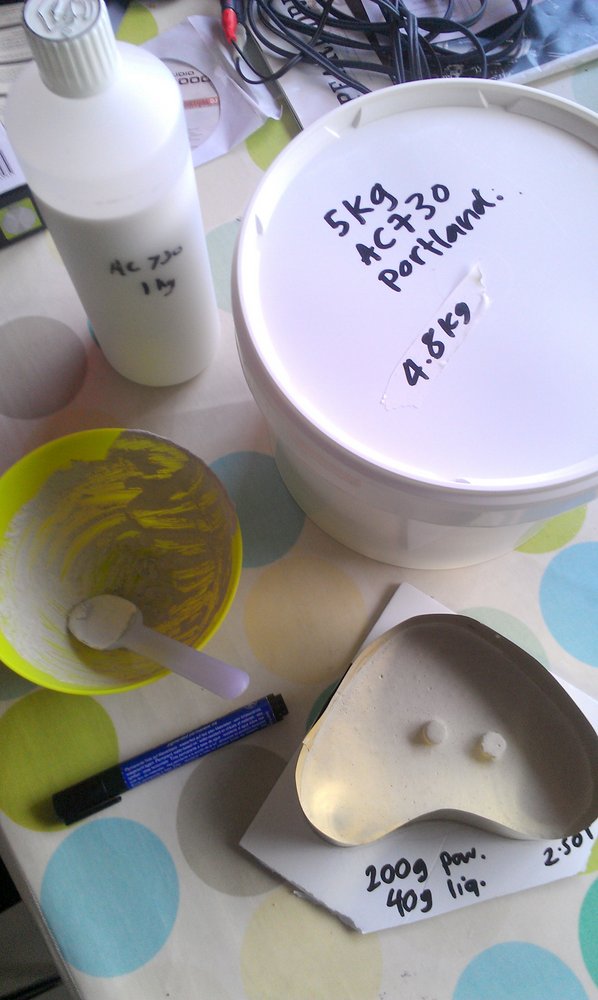
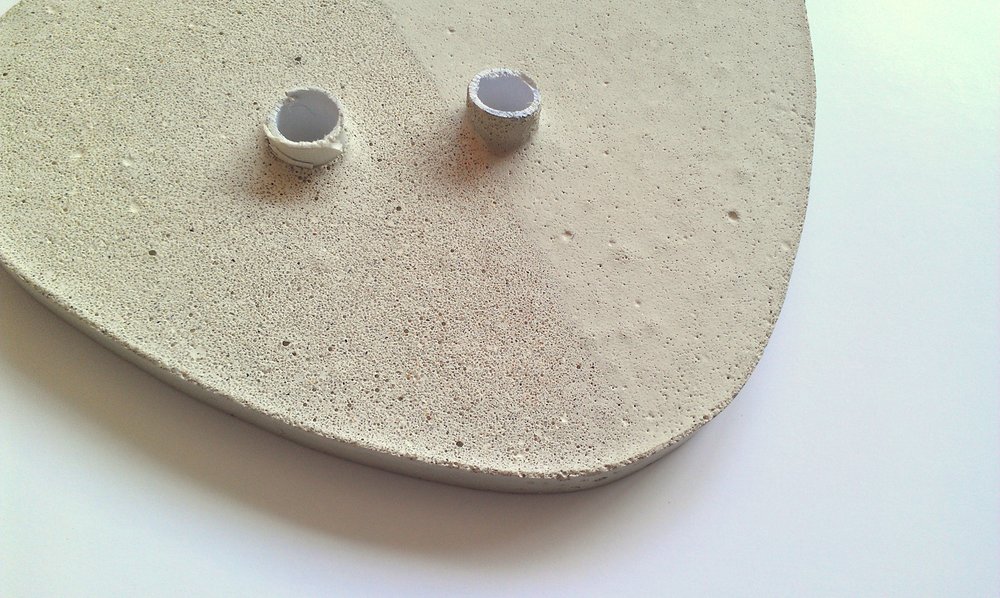
- Experimenting with jesmonite with portland stone aggregate
-
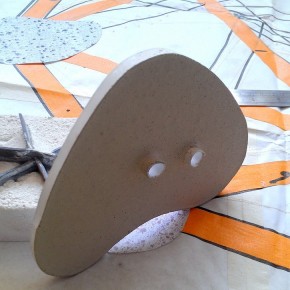
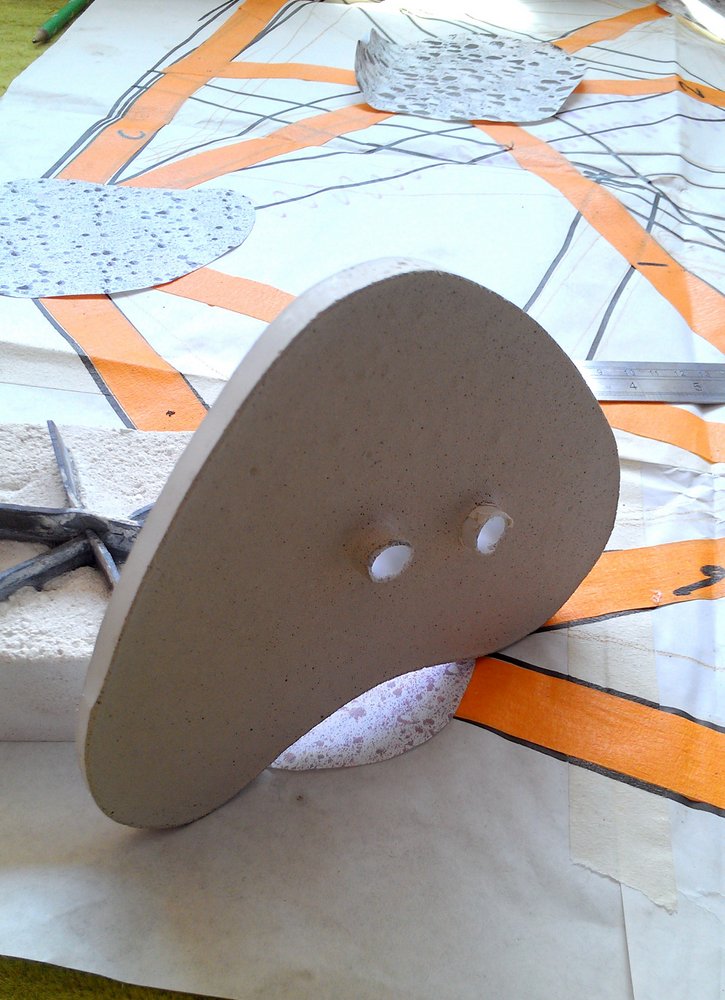
- Initial test with plastic piping
-
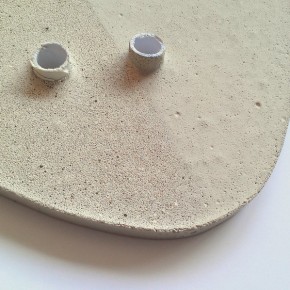
- Initial test etching the surface with acid to reveal texture
-
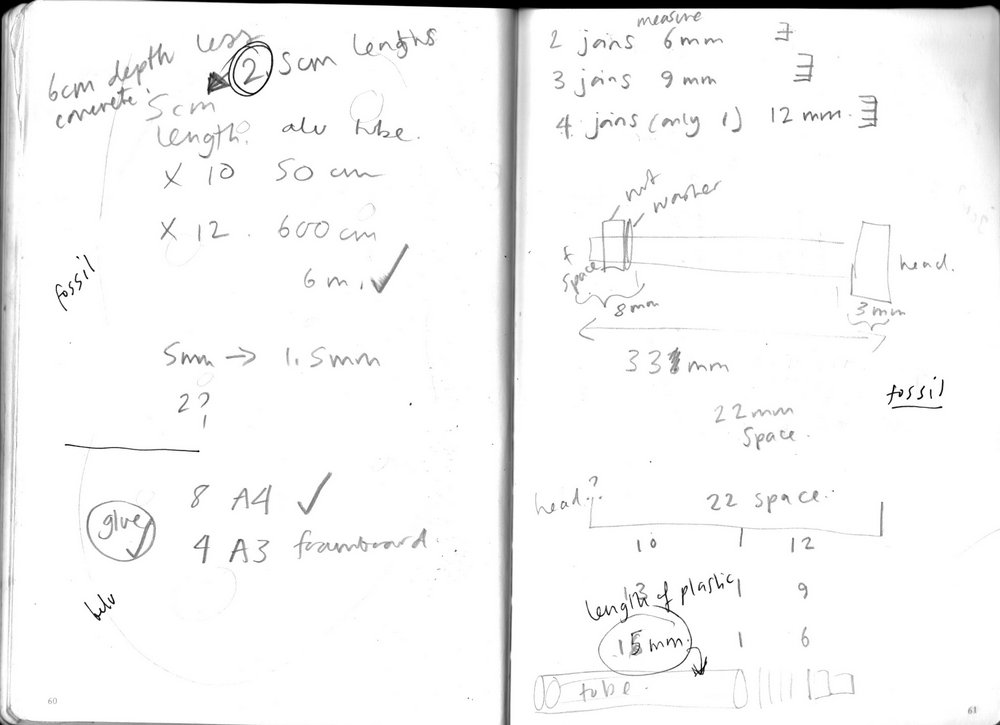
- Slightly illegible notes – lots of measurements!
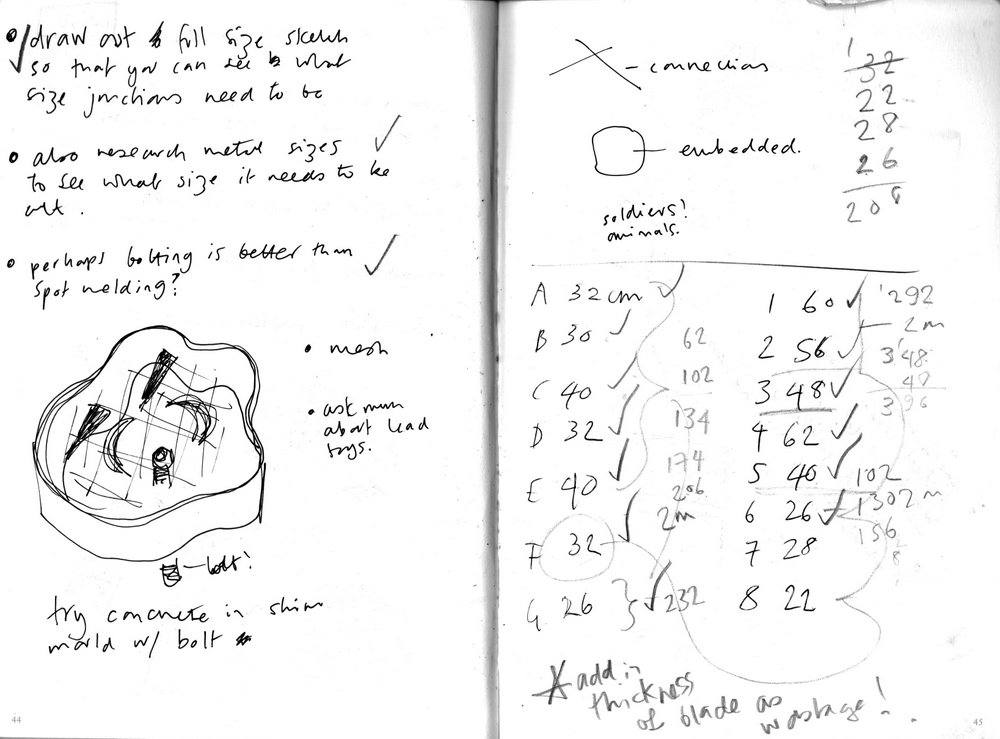
-
- Slightly illegible notes – lots of measurements!
Once I was happy with the results, I had to create the metal lengths that would be embedded into the fossils (see my metalwork process done at the fab London Sculpture Workshop). I then worked out the sizes and shapes of each fossil ‘cell’ according to the junction of where it sat and made the moulds.
-
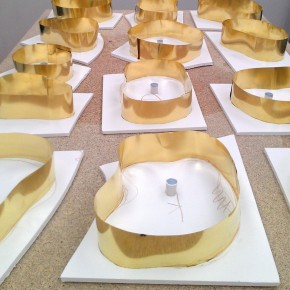
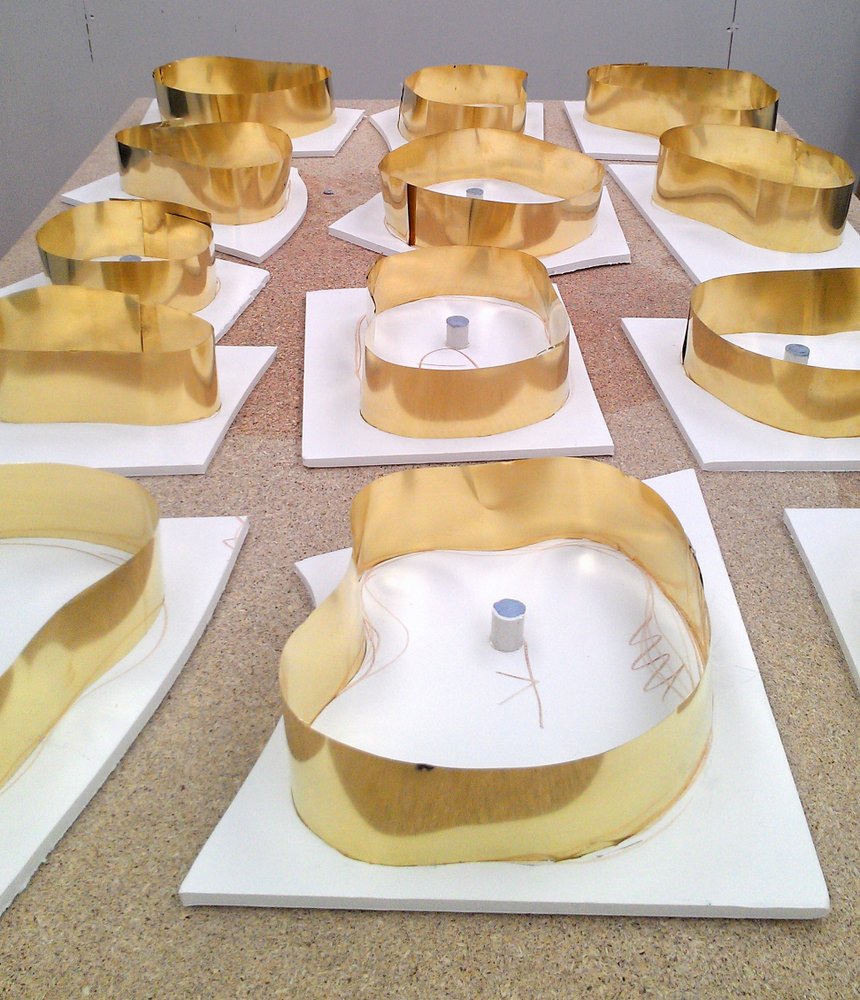
- Glued spacers in the mould to create spaces for the bolts
-
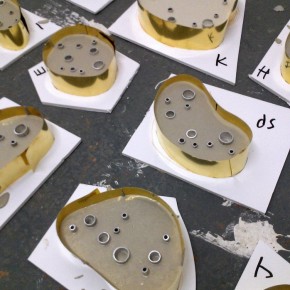
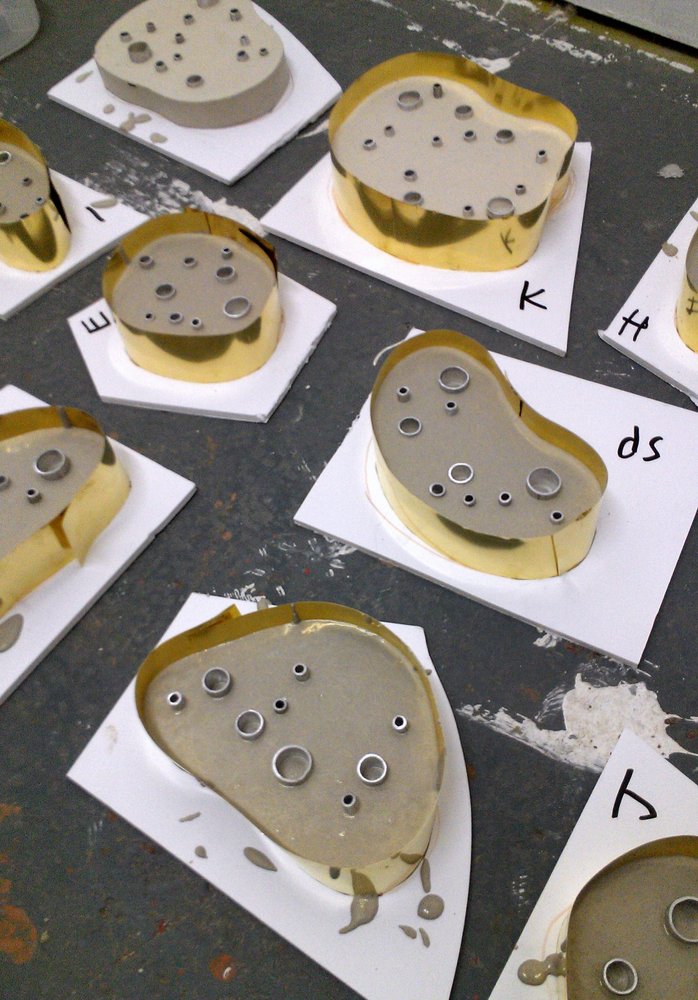
- Poured jesmonite, with lengths of pipe embedded
-
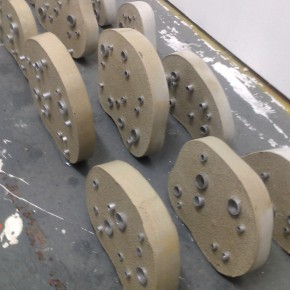
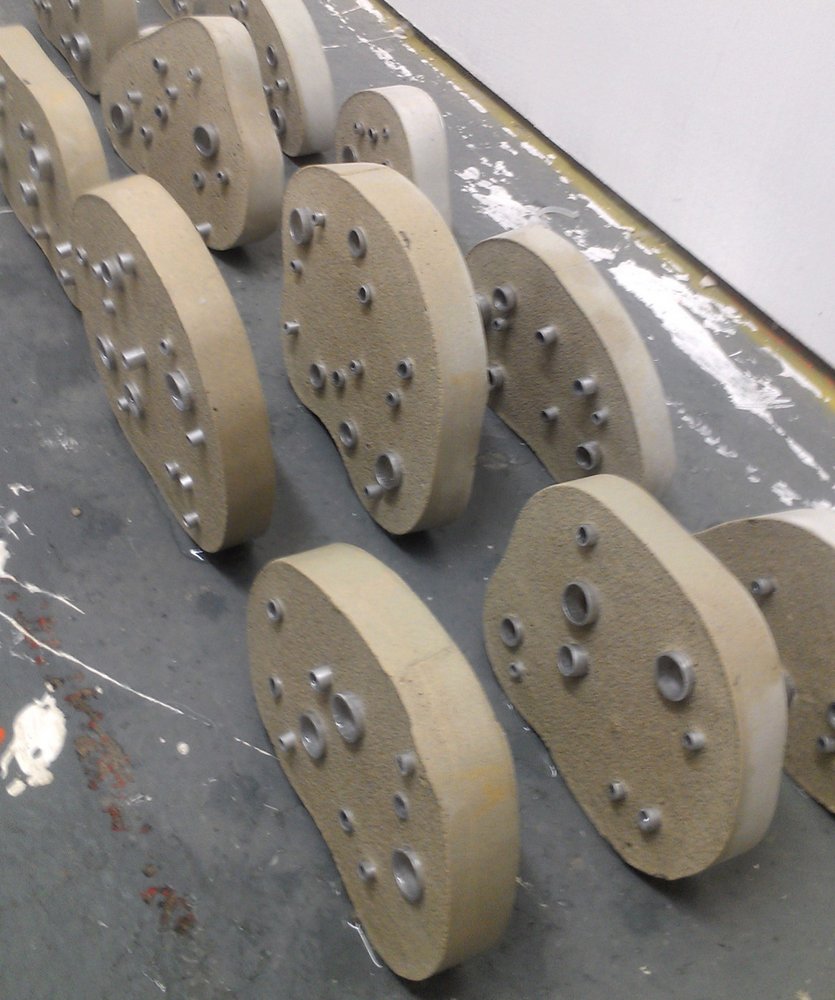
- Drying in the studio
-
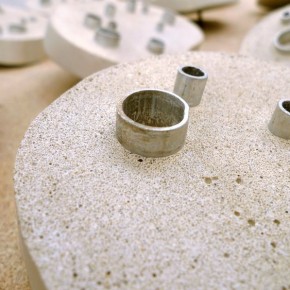
- Close up where you can see the texture of the portland stone
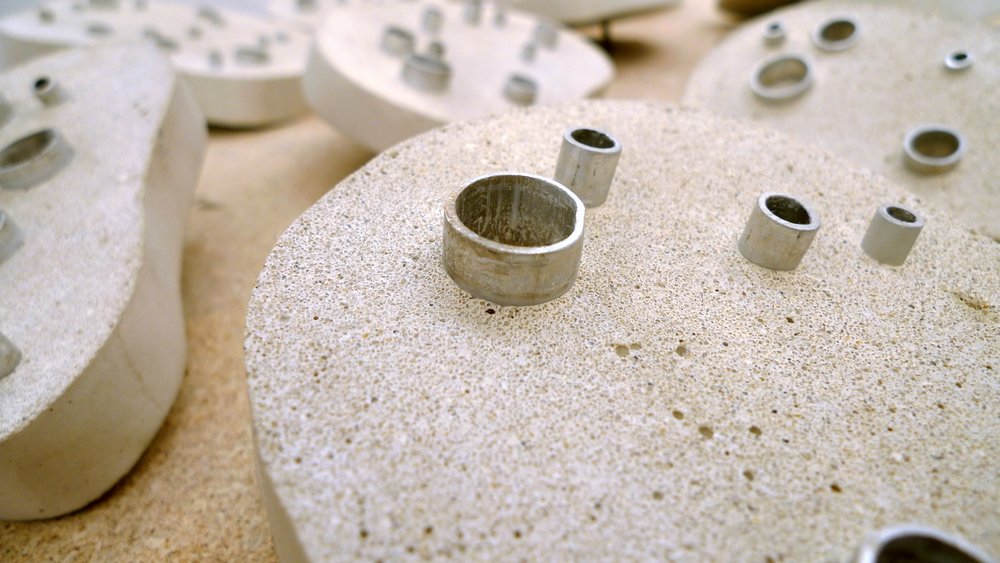
-
- Bolts attatched into the back of the shapes with mastic
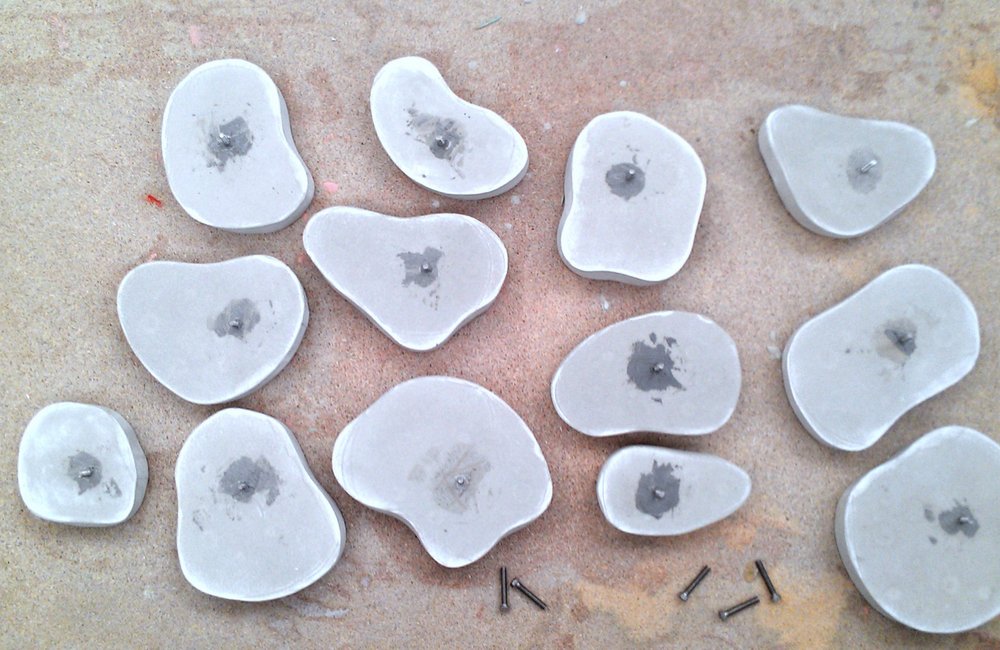
-
- finished pieces, ready to be bolted to the framework
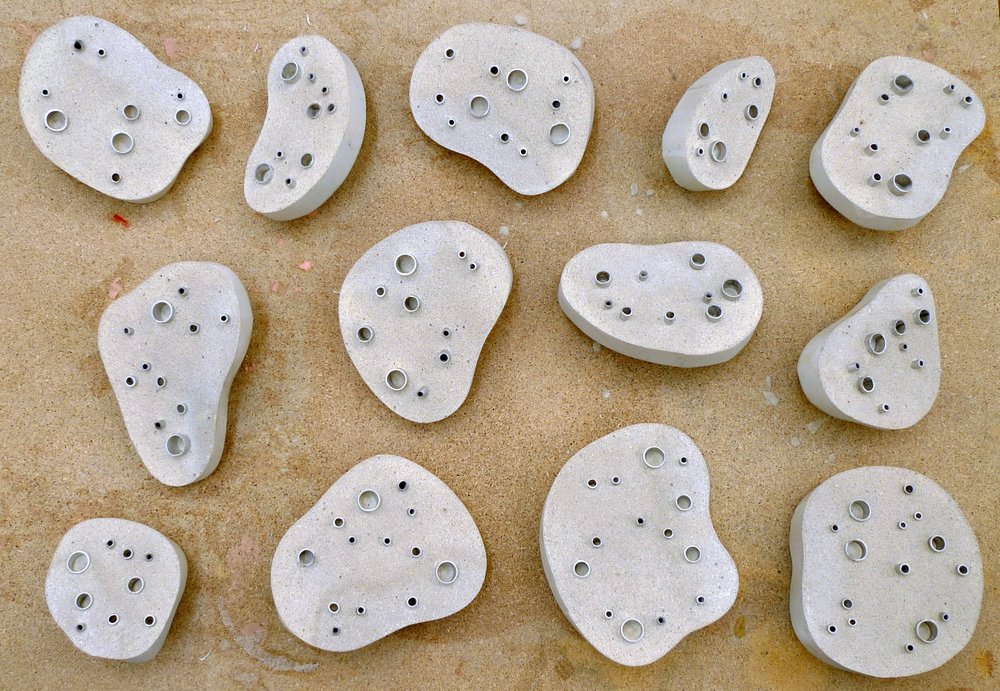
Before pouring, I had to glue ‘spacers’ that would create holes in the back that I could attach bolts into. I had to work quite quickly – pouring the mix, then sticking the tubes in – as the jesmonite sets pretty quickly. It’s one of the bonuses of using it over concrete. It is more expensive, but it’s great to work with.